
Sales are simple and are completed the same way for all payment methods, some payment methods (Cards, EFTs) have an additional pop-up requiring a compulsory Transaction Number before completing the checkout process; This is to ensure that the payment was confirmed manually before completing the sale. There are, however, more delicately handled methods of sales, these are :
- Sales
- Lay-Buy Sales (Deffered payment)
- Delayed Delivery Sales (Sold but not shipped or picked up by customer immedietly)
These will be detailed in separate sections.
Sales with direct payment methods #
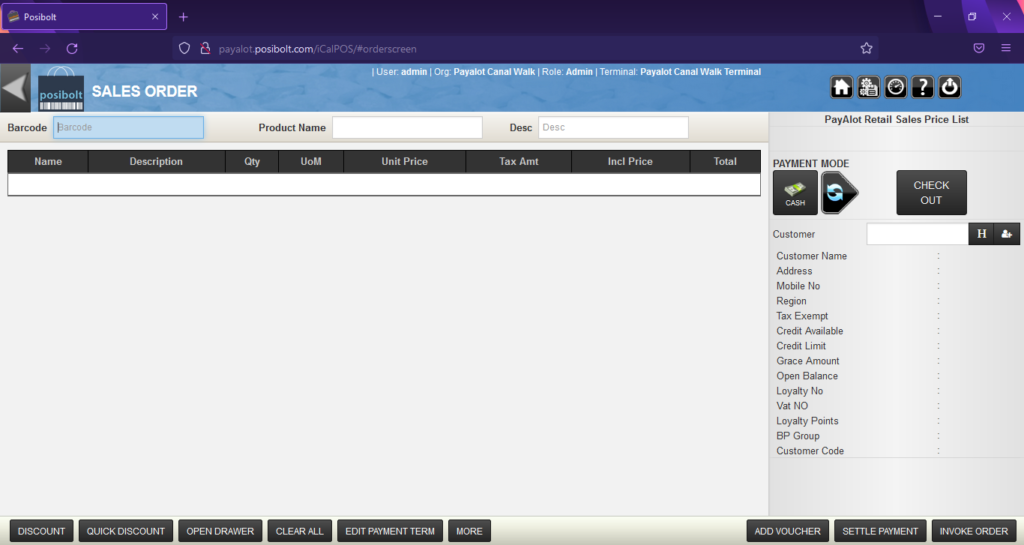
- Navigate to Sales > Sales.
- Choose a customer (if applicable) so that the pricelist information can update. This will prevent confusion when using a customer facing display as the prices will only update according to the customers pricelist once the customer is selected.
- Populate the cart with the items being bought by the customer.
- Use a scanner to scan barcodes in the barcode field, or search by Name or Description
- Ensure that the correct quantity is captured for each item in the Qty field, scanning an item multiple times automatically updates the quantity.
- You can save a sale to work on at a later stage, to retrieve a saved sale, click the Invoke button.
- PAYMENT
- The default payment mode set up for the customer will load automatically (See customer section > Payment rule), however, this payment mode can be changed. Note that EFT and CARD payment modes require a compulsory transaction number before completing.
- When processing a split payment:
- Select the first payment mode and capture the partial payment
- In the bottom left, the captured amount will display along with the balance
- The payment mode pop-up will appear in the center of the screen prompting you to select the next payment method
- Select the next payment method and the amount will automatically populate with the balance owing (This can be adjusted and the process will repeat until the total amount owing is met)
- Click the X in the payment summary section (bottom left) to clear all captured payments.
- Discount can be applied to a purchase order by clicking the discount button.
- All the items in the cart will display and allow for the editing of the price or adding a percentage discount ; Alternatively, there is an option to apply total discount or percentage here as well.
- Quick Discount allows you to quickly discount the cart total, or apply a discount to the selected item in the cart.
- Edit Priceallows the altering of the price for a specific order, by default, the items will populate with the price contained in the pricelist associated with the selected vendor (See Inventory > Price Lists).
- Clear All option clears all the information on the cart.
- More
- Purchase History
- View Cost
- Merge
- Service Charge
- Third Party Payments
- Add voucher allows you to add a gift voucher (Gift Card) created on the system (See Vouchers section) to the cart
4. Once the cart is populated as required, simply click checkout5. If a slip printer is configured, a slip will print for the customer upon a successful checkout
Lay-Buy Sales #
Processing Lay-Buy sales function exactly the same as processing normal sales, the only difference would be when processing the payment mode. However, a lay-buy sale is not recorded as an invoice (Sale) up until the final payment is made. Lay-Buy Set Up have to be configured first prior to lay-buy appearing as a payment method. To set up the program of which your lay-buys should function :
- Navigate to Administration > Lay Buy Setup
- Configure the lay-buy rule as follows : (Individual rules can be set up per organsiation)
- Lay-Buy Period – How long the lay-buy can remain with an open balance for
- Minimum First payment – What percentage of the total should be made as a mandatory first payment
- Press Save
Lay-Buy Sales #
- Navigate to Sales > Sales
- Choose a customer (if applicable) so that the pricelist information can update. This will prevent confusion when using a customer facing display as the prices will only update according to the customers pricelist once the customer is selected.
- Populate the cart with the items being bought by the customer :
- Use a scanner to scan barcodes in the barcode field, or search by Name or Description
- Ensure that the correct quantity is captured for each item in the Qty field, scanning an item multiple times automatically updates the quantity
- You can save a sale to work on at a later stage, to retrieve a saved sale, click the Invoke button.
- PAYMENT
- Select Lay-Buy as the payment mode
- Discount can be applied to a purchase order by clicking the discount button.
- All the items in the cart will display and allow for the editing of the price or adding a percentage discount ; Alternatively, there is an option to apply total discount or percentage here as well.
- Quick Discount allows you to quickly discount the cart total, or apply a discount to the selected item in the cart.
- Edit Priceallows the altering of the price for a specific order, by default, the items will populate with the price contained in the pricelist associated with the selected vendor (See Inventory > Price Lists)
- Clear All option clears all the information on the cart.
- More
- Purchase History
- View Cost
- Merge
- Service Charge
- Third Party Payments
- Add voucher allows you to add a gift voucher (Gift Card) created on the system (See Vouchers section) to the cart.
- Once the cart is populated as required, simply click checkout5. The Lay Buy Payment pop-up will display the minimum amount required to pay6. Capture the paid amount and payment method7. Press the tick to complete the lay-buy order.
Managing Lay-Buy Payments #
To quickly view and capture payments toward a lay-buy:
- Navigate to Sales > Sales
- Click the Settle Payment button.
- Select the order for which a payment is being made
- Capture the payment detail in the right hand panel.
- Click on PAY to complete the payment Using the Lay-Buy Report to manage Lay-Buys. As the name implies, this report displays all the make to orders done with in the search criteria set.This report also displays the quantities to be delivered in that period.
- Cancel Or Modify From Lay Buy Report. Navigate to Lay buy reportIf the Allow Edit Document feature is enabled for the role, then the user will get the Modify / Cancel options. Selecting one can modify or cancel a lay buy order.
- Click on MODIFY, it directs to the sales screen, from there you can modify the order and complete the process using Check-OutClick on CANCEL ORDER, a pop up box is displayed showing that return penalty is deducted from the minimum payment, for the customer.
- Click on Tick mark after which a message is displayed that Order has been cancelled.
Delayed Delivery Sales and Shipment Report #
This scenario occurs when a customer settles the invoice without taking the goods (Inventory is still at the store) and is scheduled to be delivered at a later stage. To Process a delayed delivery sale it needs to be enabled.
- Navigate to Sales > Sales
- The customer selection becomes mandatory when delayed delivery is enabled
- Populate the cart as documented above
- Click on checkout
- The Delivery Details Pop-Up will display
- Select the warehouse from which the stock will be delivered (Inventory will be deducted from this warehouse once shipped)
- Choose the pricelist for which you would like to base the invoice off of
- Use date promised to set a delivery date expectation
- Capture any freight charges in this freight cost field


